Introduction to System Settings
Lessons
2.1 Understanding Custom Fields & Data Architecture
Estimated Reading Time: 1.5 minutes
What are Custom Fields and why would you use them?
Custom Fields operate as a highly flexible configuration tool designed to let you manage and extend the data architecture across your Colateral environment. Admin Users can leverage this feature to construct bespoke data types, such as multi-select dropdowns, free-text inputs, date pickers, and relationship links, all tailored to exact business requirements. By utilising Custom Fields, you enable a highly granular level of data empowerment. A solid grasp of Custom Field setup is required knowledge for operating Campaign Builder, Admin databases and is an integral component when using Location Profiler.
Fixed Fields vs. Custom Fields
Fixed Fields are the standard, unalterable system properties hardcoded into Colateral to ensure core functionality and system stability.
Where can Custom Fields be deployed?
During your system onboarding, configuring custom fields can be a milestone. Once configured in the admin backend, these fields can be mapped and deployed across a multitude of system objects, including:
- Items
- Elements
- Suppliers
- Assets
- Campaigns
- Locations
- Artwork Briefs
- Range
- Bookings
Field Groups
Custom Fields can increase significantly. To maintain a clean and intuitive user interface, you can employ Field Groups. By assigning a "Group Field Name" during configuration, administrators can consolidate related fields under a unified display label.
2.2 Different User Types & Permissions
Estimated Reading Time: 1.5 minutes
Understanding Access Governance
User types and permissions form the foundational governance framework of your Colateral platform. Identifying distinct user access types is a critical pre-implementation activity during your initial data collection phase. Properly mapping these roles early prevents configuration delays and alignment risks.
Core Role Architecture
System access is systematically configured during Phase 2: Data Setup, where site administrators establish the primary user framework. Roles are broadly categorised into three operational tiers:
- Admin Users: Created during initial data setup to manage global configurations, custom fields, data uploads, and end-to-end campaign validation.
- Supper Users / Specialists (Artworkers, Suppliers): Internal corporate users (such as planners or studio teams) who manage artwork briefs, allocation rules, and logistics workflows.
- Store / Location Users: Frontline users who access the system during the campaign execution phase to complete compliance surveys and interact with space visualisations.
Personalised Role-Based Pathways
Rather than overwhelming every user with the entire platform architecture, Colateral utilises role-based guides. Each defined role features a personalised pathway with explicit permissions that tightly dictate what that user can and cannot execute within the system.
For example, a dedicated creative user might be restricted purely to the studio review workflow and artwork brief elements, whereas a localized store user's experience is strictly focused on logging in, viewing assigned spaces, and validating store compliance questionnaires.
Practice Guides
2.3 Custom Fields in working Action
- Navigate to the global navigation bar, open the Admin panel, and select Custom Fields.
- Select your required interface. i.e. Artwork Brief, Asset, Campaign, Element, Location,
- Select the 3 dots of an existing group
- Click Create new field and scroll down
- Add a Field Name and define the Field Type then Save to deploy.

Custom Fields Articles for a Deep Dive
2.4 Creating User Types
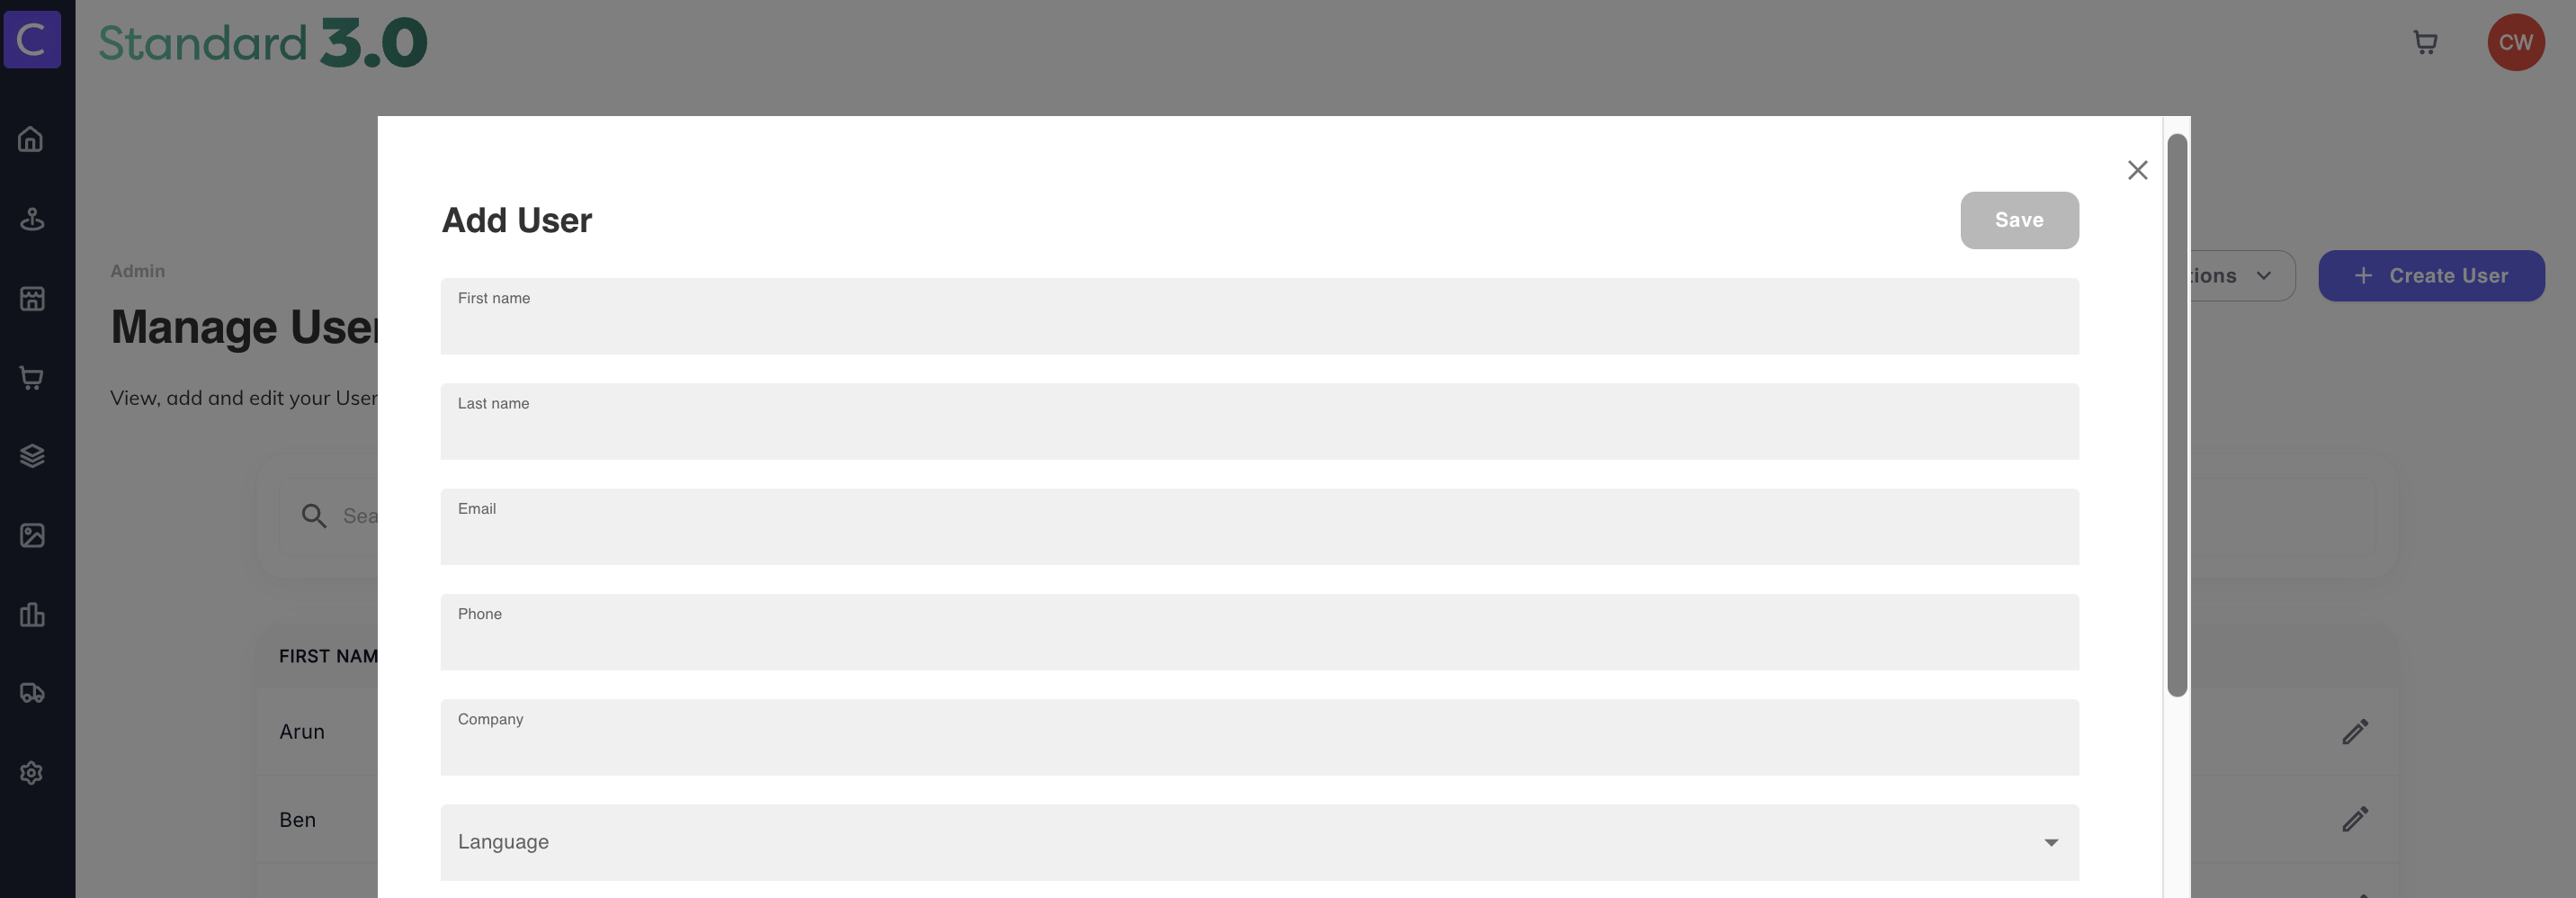
- Navigate to the global navigation bar, open the Admin panel, and select Users.
- Click the + Create User button located in the top-right corner.
- Populate the core profile data, including First Name, Last Name, Email, and Company.
- Select the Type dropdown to assign their permissions (e.g., Administrator, Artworker, Item Owner, Supervisor, Basic, Retail Media Manager).
- Ensure the Active toggle is enabled, set a password that meets the security guidelines, and add an optional location filter if required.
- Click Save in the top-right corner to deploy the user.
Users & Permissions Articles for a Deep Dive
2.5 User Activity
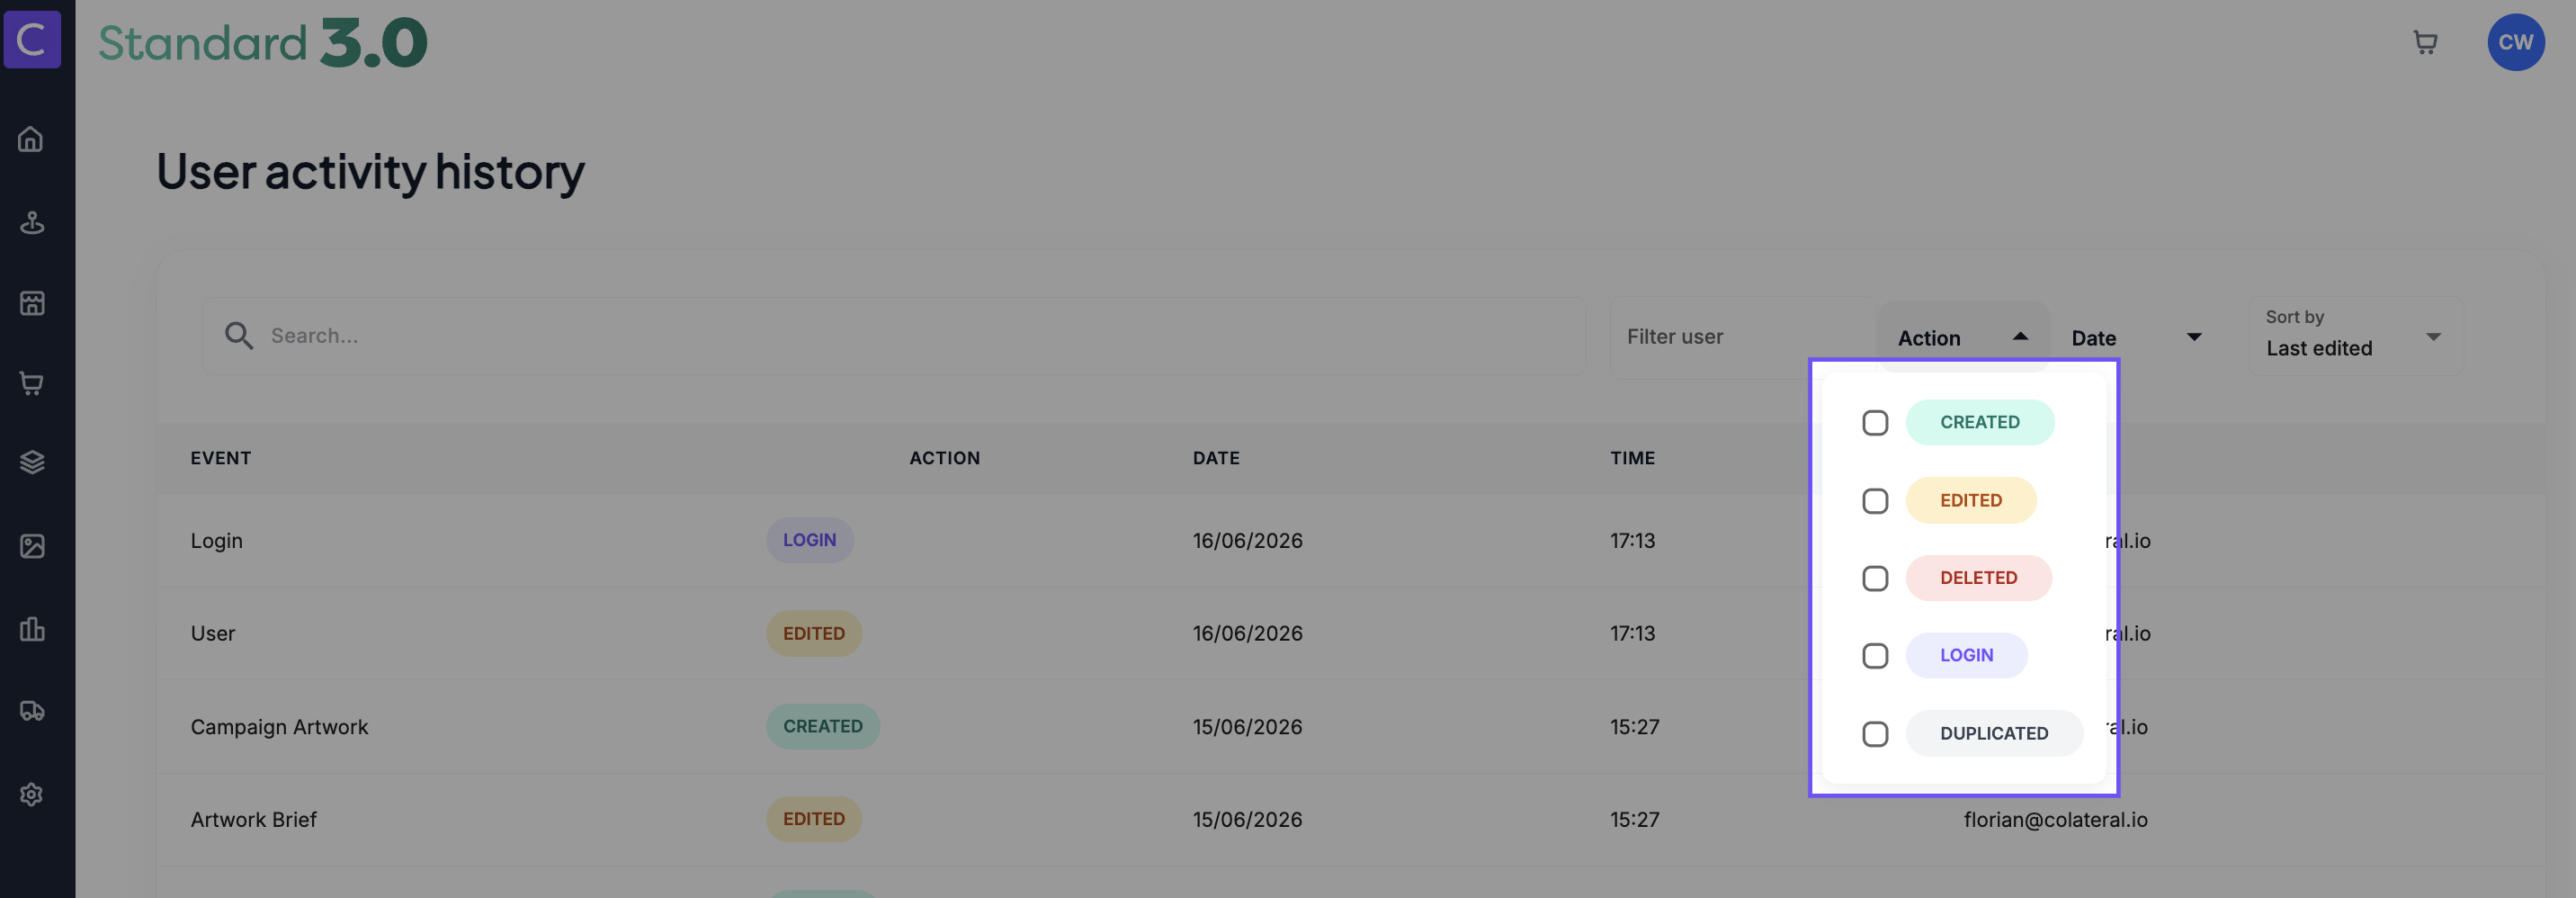
- Navigate to the global navigation bar, open the Admin panel, and select User Activity History (or scroll to the bottom of the main landing page and click See all activities).
- Use the Search bar or Filter user dropdown to locate a specific team member's logged changes.
- Select the Action dropdown to isolate operational events like
CREATED,EDITED,DELETED, orLOGIN. - Select the Date dropdown to filter results by specific timelines such as Today, Last week, or Last month.
- Select the Sort by dropdown to adjust the chronological or alphabetical display order of the logged history.